
Menu
6 simple steps to make your solar installment easier!
Many people of my generation will remember the iconic shows The Flintstones and The Jetsons. One of the things that made The Jetsons so compelling to me personally was the advancement of technology within this children’s show. It was exciting to think about all the amazing inventions that might become a part of our future.
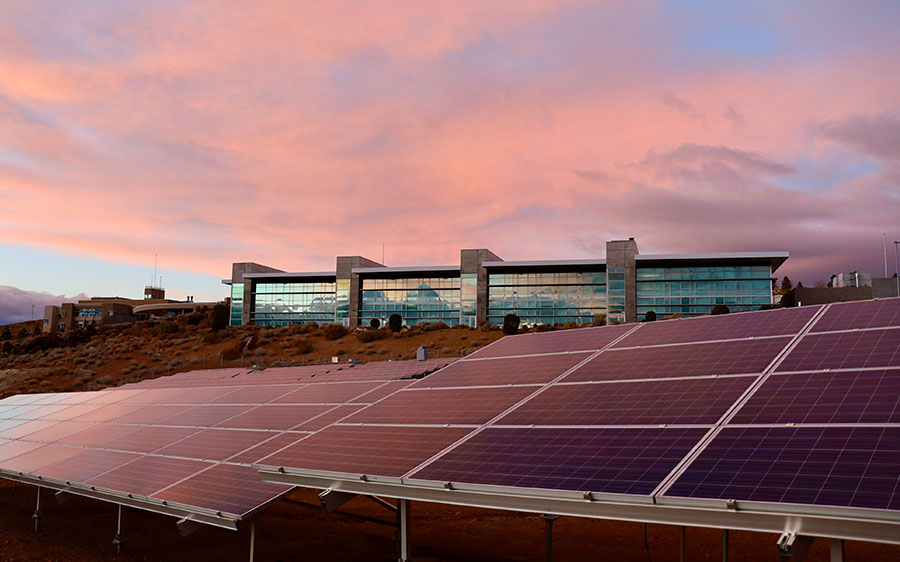
Well, the future is here. While our modern world may not be identical to the fantastical one in that iconic show, there are some almost equally exciting innovations happening in our world and beyond. Self-driving cars are being explored. Mankind is close to colonization on Mars. Robotics is changing the scope of medicine and commerce. And last but not least, alternative energy options are taking the place of the less sustainable and environmentally friendly options. Wind technology harnesses an almost ever present resource and doesn’t present any environmental hazards or take anything away from the Earth’s resources. Thermal and Hydro energy technology also uses and even reuses resources that are in an abundant and regenerative supply. Last but certainly not least Solar technology allows cars to be driven with no gasoline, and homes to be powered completely off-grid and with a renewable and ever-present source.
Solar power companies are making gains and are on the cutting edge of this new tech, but the ambitious and industrious among us will find that solar power is so easy and user friendly that panels and systems can often be installed without the need of a middleman. Homesteaders, preppers, and off-grid enthusiasts alike are often inspired to “do it yourself.” But how difficult is it really to install your own solar panels? DIY solar panel installation is surprisingly not as difficult as you might think.
You probably won’t find very many books or instruction manuals on solar power at your library, especially considering that Solar energy is a relatively new innovation. However, the internet has a wealth of information on solar energy and installing solar panels yourself. Just a quick search engine query for “DIY Home Solar Panels” or “Self Install Solar Panels” will reveal a myriad of instructions and products. If the task ever becomes overwhelming however there are a host of solar power companies eager to provide their services and even do-it-yourself kits. So what is the best way to go about self-installing a home or vehicle solar power system? Sometimes the easiest way to go about a daunting task is to make a list. So I have compiled a step-by-step list, six items total, of things to do in order to make the installation go more smoothly.
- Step 1
Determine your home, vehicle, or recreational vehicle’s power needs or items to be powered. The first part of this is understanding electricity types and amounts. Most household appliances run on AC current while many electronic devices like home computers will use DC current.
DC current is an acronym for direct current, meaning that the electricity flows in a steady and direct way. AC current means that the flow of electricity alternates or changes direction. It’s also important to know what the unit of measurement kilowatt-hours means in terms of power in your home.
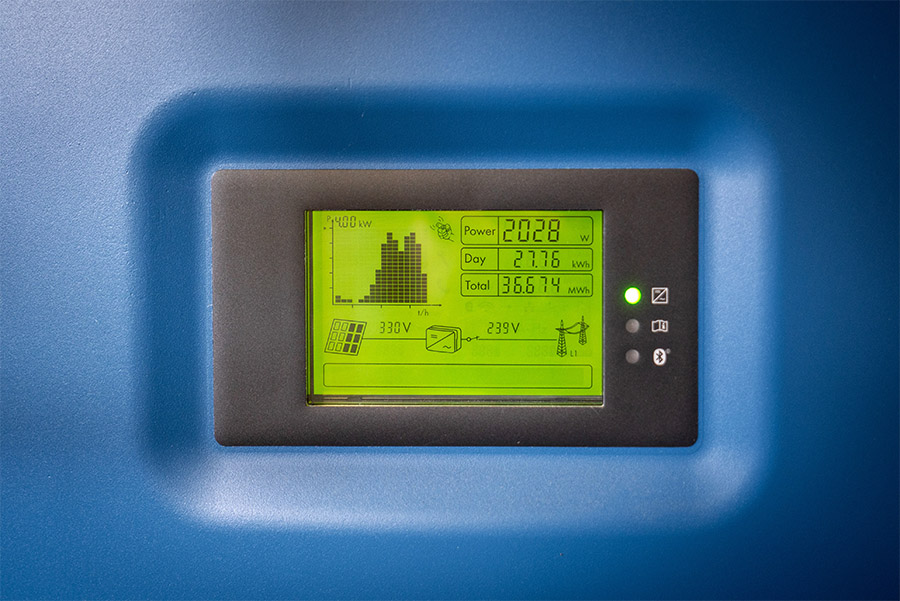
Kilowatt-hour is the unit of measurement electricity companies use in order to know how much to charge you for usage. It also allows you to know how much electricity you need in order to power your individual appliances and devices. Most appliances will have a sticker or some kind of label that will allow you to see what the kilowatt-hour usage is for your particular appliance
Calculate your average monthly energy consumption usually by using your monthly energy bill.
- Step 2
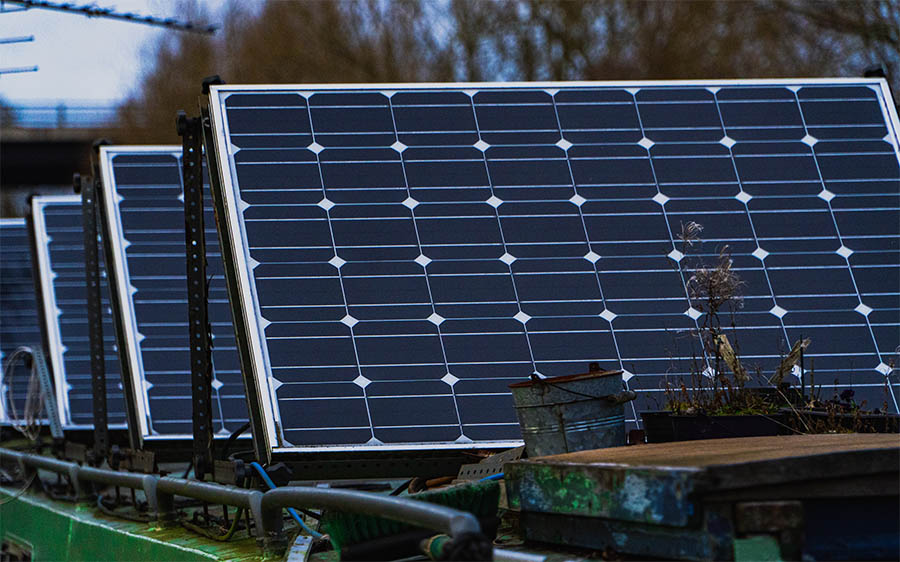
Determine the kind of solar panels and the number of solar panels you will need in order to power your home, based on your typical kilowatt-hour usage and the number of appliances and electronics needing to be powered. There are three types of solar panels: Monocrystalline, Polycrystalline, and Thin-Film. The amount of power produced is based on their ability to capture the sun’s rays. In addition, the type that you choose will also likely be based on where you will be placing the solar panels. For an RV for instance you may want the thin film which is more lightweight to transport. Polycrystalline panels are low cost but also lower efficiency than a monocrystalline panel, while the pricier monocrystalline panel is much higher efficiency.
Things like brand, size, and quantity can factor into the all around price and performance of your solar array.
- Step 3

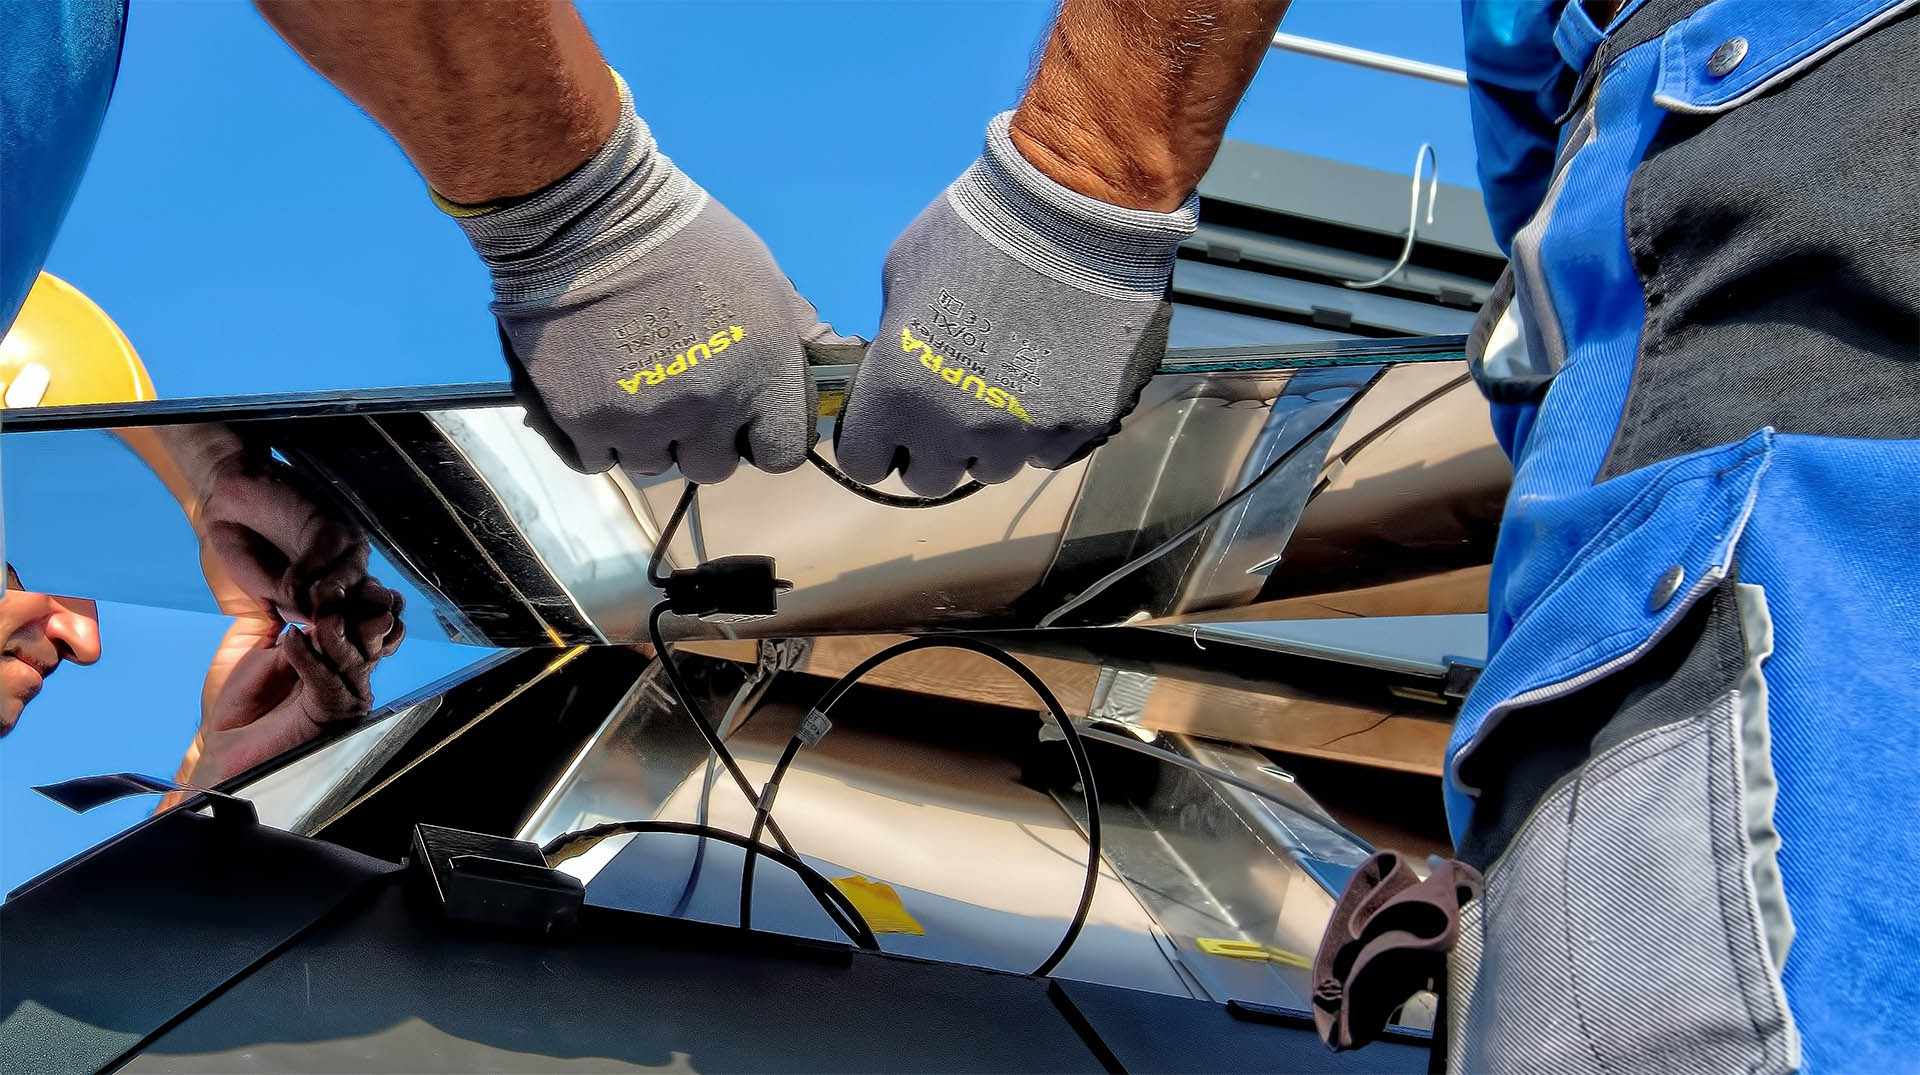
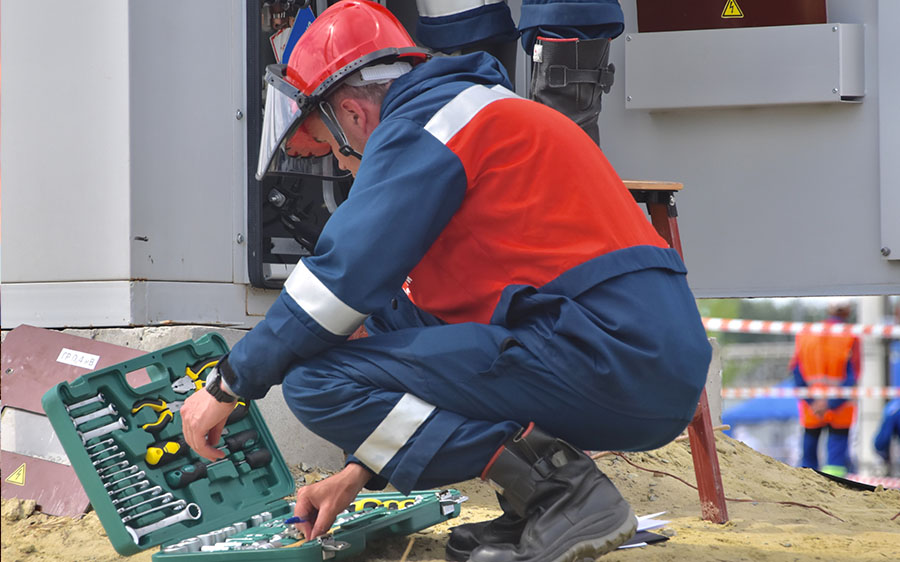
Determine the materials that you will need in order to set up your solar system. The very first item that you will need for this would be any permits required by your State or County, as well as by any applicable homeowners associations authorizations. If you live completely off-grid or on unrestricted land this will be a lot easier to do, as there may not even be any permits required. Make sure you have any and all safety equipment. If you will be up on a roof you will need to have any harnesses, ladders, and tethering devices necessary to complete the task safely and efficiently. If possible, use scaffolding to hoist or steady objects on the roof. Very basic tools such as one might have in their everyday toolbox (hammer, nails, screws, nuts and bolts, screwdrivers both Phillips and flathead, hex keys, etc.) and even a drill. For a ground-mounted solar system you may need to dig holes in the ground for poles in order to raise the platform to shoulder height.
Ground mounted systems may need Schedule-40 poles which may not come in DIY solar kits but are easily purchased at many hardware and plumbing supply stores. You will of course need the solar panels and any mounting equipment necessary to complete the roof installation. If you anticipate storms in your area or a need to store any solar power you will need a battery storage system for your solar-powered home. You will need a solar inverter as well. This is the device that will convert the power from your solar panels into the right kind of electricity for your home. The inverter can convert DC power to AC power. Don’t forget you will need electrical wiring, and you will need to wire your home just as you would for regular grid-tied electric only systems. Battery Systems will also need a charge controller. A charge controller is just what it sounds like. It regulates the power coming from the panels and distributes it in a more even way throughout the home’s (self contained) electrical grid.
Getting the appropriate equipment and tools for any DIY solar install will save you time and headache.
- Step 4
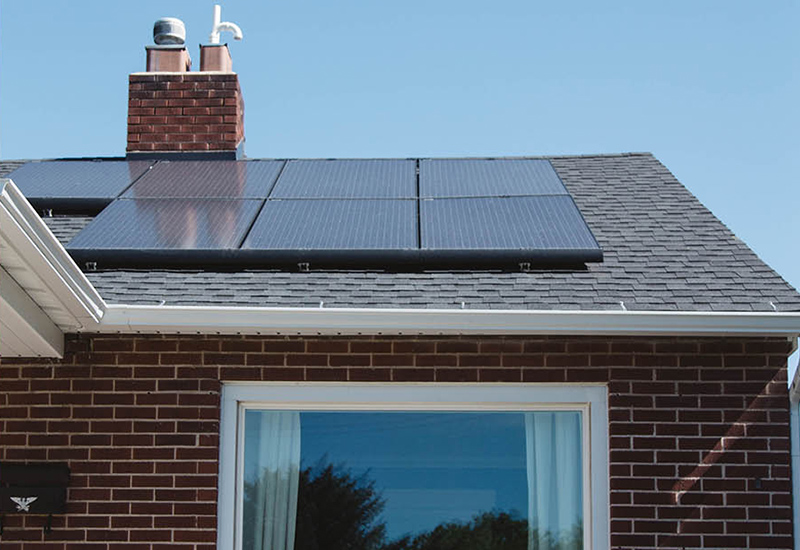
Determine where exactly on your property you will be placing the solar panels and make a plan for how to set it up. For instance, if you will be placing the panels on your roof you will need to have the correct mounting equipment and safety equipment. If you’ll be placing the solar panels on the ground you will need different mounting equipment than for a roof install. If placing solar panels on your roof then you will need to be placing them flush on the roof surface with some sort of flat mounting equipment. If replacing the panels on the ground you will not be placing them directly on the ground, but rather on a slightly elevated stand.
You will need to determine where the sun will hit the panels best or most on your property and decide where to put the panels accordingly. Ground-mounted solar panels will get a good amount of sunlight. However, trees and other taller buildings may get in the way of the sun’s direct rays making these panels somewhat less effective. Rooftop solar panels may absorb more sunlight in some cases but will be harder to access for cleaning and maintenance.
Ask your solar expert about finding your homes maximum sun exposure spots.
- Step 5
Install your solar panels. Build your platform if placing your panels on a ground-mounted system. Build a racking system if you are placing your panels on a rooftop. These can be an easy build wood material structure/rack and may sometimes be included in kits from solar companies. Then comes the fun part, placing the panels themselves. You will want to make sure that you secure the panels tightly to the platform or racking system, especially in the case of a roof mounted system due to increased safety hazards involved with that kind of system. All it would take is a big winter storm or high winds to knock the panels out of place and cause damage to them. Placing the panels properly and securely to begin with is extra insurance for catastrophic events. Next, install your inverter and battery backup. Place all the wiring in the house and connect it to the solar system. Ensure everything is connected securely and properly before testing out the system. Safety first.
Whether your solar array is rooftop or ground mounted a proper structure is key to longterm solar system performance.
- Step 6
The Next Step would be to actually install the solar system to your home electric system/grid. You will want to install the inverter, the wiring from the home electric system to the inverter, as well as the wiring from your solar panels to the inverter. And of course the installation of the charge controller. Make sure that you do not have your electrical power turned on or a charge running to the wires as you are installing them of course. If you need to, consult with an electrician to be sure that you’re setting everything up properly or even hire a contractor for the more difficult parts that you do not know how to do or do not feel comfortable with. For the most part, DIY workshops and DIY videos and websites will guide you along and what you need to do. But there is no shame in calling in the big guns and hiring the professionals when you need them. You will still have the satisfaction of having built your own system, and your budget will thank you.
Contacting a reputable local electrician to make the final connection is usually what is recommended.
Subscribe Here
Get in Touch
")
Location
570 Country Club Rd, Unit #11004, Wylie, Texas 75098

Contact Us
Phone : +1 (469) 405-6830
Email : info@solar2sk.com

Our Hours
MON-FRI 9:00 am – 9:00 pm CST
SAT- 9:00 am – 7:00 pm CST
SUN – CLOSED

Follow Us
Bonus Step!
Before you do any of these other six steps you will want to determine if a DIY installation is the best thing for you and your situation. Things to take into consideration is what is most important to you about solar power and specifically self installing solar power. Is it saving time, is it saving money, or is it ease or convenience of installation? Are you wanting to be completely off-grid or do you want to be tied into the city system in some way? And if you do want to be off grid or energy independent what are your motivations for that? Is it cost, simplicity, or privacy, or maybe all three? If you want to be partly grid-tied is it to partake in a buy-back plan with city services? Or maybe it is the convenience of having people on call to handle repairs to the system rather than going completely solo? If none of these apply to you or at the end of the day you would prefer the simplicity and convenience of having a professional installation there are a whole host of solar power companies eager to do business to cover your energy needs.
Currently the government of the United States has monetary incentives to switch to solar power. This can be a great benefit to homeowners. Solar doesn’t to date add much monetary value or selling power to the home so it isn’t necessarily profitable for a flip or resale. However, the individual homeowner benefits in the long run due to the money saved on powering their home, especially due to those purchase incentives for solar. Added to that, a partially grid-tied or fully grid-tied home can sometimes make a sort of passive income by selling back excess power to the grid. If you want to be completely independent of the grid and not have to bother with the monthly electric bills, having solar power enables that independence.
Whether you plan to do a DIY solar installation or call in the professionals it helps to have advice from the experts. So consider a consultation with a solar company to gauge which route you want to go for the installation, what materials you need, and what common sense advice will most help you going forward.
Author- Melody Sanford